There was a time when setting up a Continuous Integration server took a lot of work. I personally have spent several days wrestling with getting CruiseControl installed, configured, and working just right. Today it is much more straightforward and, for the most part, a simple apt-get install jenkins is all it takes to get a functional Jenkins CI server up and running.
In this tutorial we’re going to look at using Jenkins to set up a build farm of ARM systems. My personal interest in doing so is to support the Swift on ARM group of folks working to get Swift 3.0 support for ARMv7 devices such as the Raspberry Pi 2, BeagleBone Black, etc. While support for cross-compiling Swift is maturing there is still a desire to natively compile on an ARM system.
The Jenkins Build Server
To make things simple we’re going to focus on installing Jenkins on an Ubuntu 14.04 server. Using the instructions on the Jenkins Wiki for an Ubuntu 14.04 system:
|
1 2 3 4 |
wget -q -O - https://jenkins-ci.org/debian/jenkins-ci.org.key | sudo apt-key add - sudo sh -c 'echo deb http://pkg.jenkins-ci.org/debian binary/ > /etc/apt/sources.list.d/jenkins.list' sudo apt-get update sudo apt-get install jenkins |
The Jenkins daemon will start automatically upon installation. Once it does, open a browser and go to http://YOUR_HOST:8080/, where YOUR_HOST is the server you just installed Jenkins on.
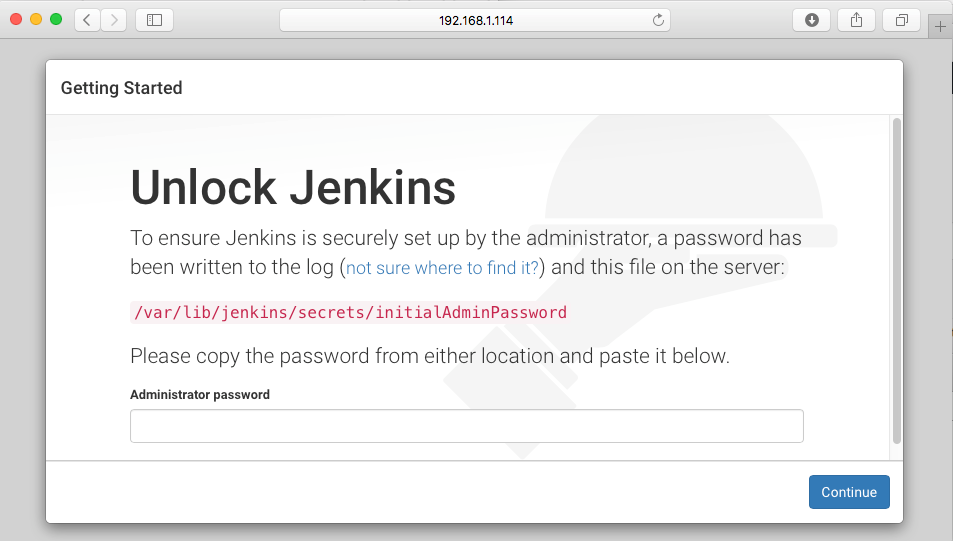
The initial password can be found on the Jenkins server with sudo cat /var/lib/jenkins/secrets/initialAdminPassword, and will be something like “54d5f68be4554b5c8316689728721b37”. Paste it in and click Continue.
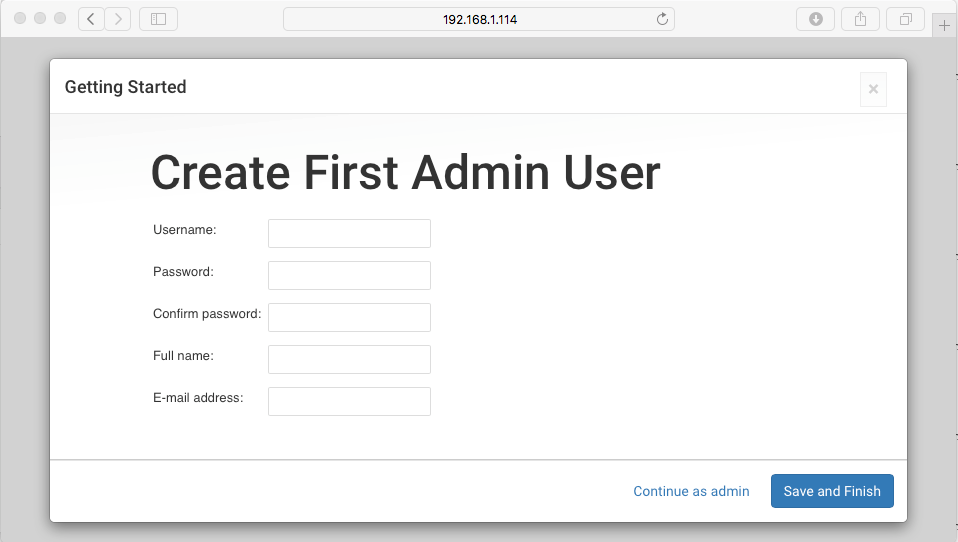
You’ll be prompted to choose whether or not to install suggested plugins or specifically select plugins. Go with Install suggested plugins for now. The next screen will be all of the plugins being loaded in. Once complete you’ll move on to creating the first admin user:
Once entering the admin user information, you’ll see Jenkins is ready!
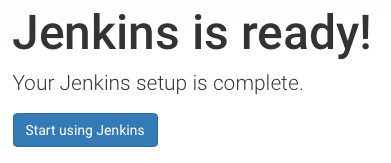
Click that Start using Jenkins button and (wait for it), start using Jenkins.
Build Agents
We’re interested in using Jenkins to perform native builds on ARM systems. To that end we’ll add slave nodes to our build server.
First, let’s make sure we have an ARM system to compile on. I’ve become a big fan of using Scaleway for spinning up ARM systems. If you have your own ARM device such as BeagleBoard or Raspberry Pi, those will work as well, just be aware that compiling on single-core ARM devices with limited RAM can be, well, painful. With Scaleway you can spin up quad-core ARM systems with 2G of RAM for about $3.50 a month.
I’m going to assume you have an ARM system (either from Scaleway or a physical device that your Jenkins host can communicate with). Let’s look at what it takes to get things configured. There’s a bit of a dance to do to ensure that the master and slave can communicate with each other. In short we need to:
- Install Java on the ARM system so the slave agent can run
- Create a build user on the ARM system
- Create a public/private key pair on the build server
- Add the build server’s public key to the ARM build user’s
authorized_keysfile
1. Install Java and create a build user
Your ARM device is going to need Java to run the Jenkins slave agent, so on the ARM system run sudo apt-get install openjdk-7-jre-headless.
Let’s also set up the build user while we’re here with sudo adduser build. Follow the prompts to create the user appropriately.
2. Create a public/private key pair on the build server
On the build server, su to the jenkins user and cd to its home directory. Run ssh-keygen to create the key pair.
3. Add the public key to the authorized_keys file
Now, add the ~/.ssh/id_rsa.pub contents of the Jenkins server jenkins user to the /home/build/.ssh/authorized_keys file of the ARM system build user.
Adding the Build Slave Node
Now, let’s add the ARM device as a build slave. Under Manage Jenkins go to the Manage Nodes link.

Click on New Node and we’ll give it a name like arm1. Select the Permanent Agent radio button and then click OK.
You’ll move on to a screen that requires some more information (typical!) We’re interested in:
- Remote root directory
- Labels
- Launch method
For Remote root directory we’ll use the home directory of our new build user, so /home/build. For the label, type in arm. It will become apparent as to why in a bit.
For Launch method choose Launch slave agents on Unix machines via SSH. In the host field enter your ARM system’s hostname or IP address that is accessible from your Jenkins build server.
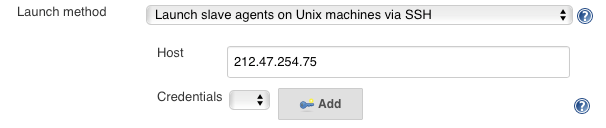
Now, click on the Add button (the one with the key) to go to the Add Credentials configuration page. For the Kind choose SSH Username with private key. For the Username we’ll use build. For the Private Key select From the Jenkins master ~/.ssh/. Recall earlier when we had you create a public/private key pair for the jenkins user on the master? This is why. When trying to contact the slave agent the Jenkins system will load the private key from the ~/.ssh/ directory of the jenkins user. The slave agent will be ready with the public key in the authorized_keys file.

Click Add to add the credentials, and then Save to save the new node configuration.
You should be taken back to the Node Management page where you’ll see your new node (probably in an offline state):
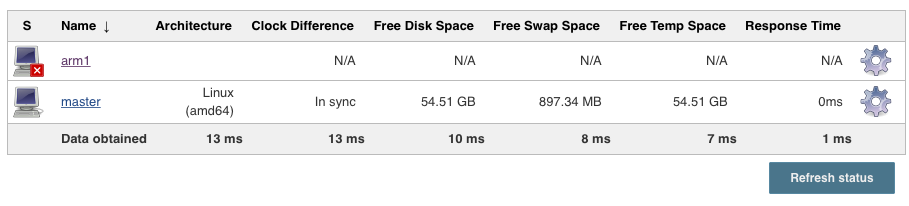
You can either click Refresh status or go to the node’s logs by clicking on the nodename arm1 and then selecting Log. If everything was configured properly you’ll see:
[04/27/16 17:01:42] [SSH] Starting slave process: cd "/home/build" && java  -jar slave.jar
<===[JENKINS REMOTING CAPACITY]===>channel started
Slave.jar version: 2.56
This is a Unix agent
Evacuated stdout
Agent successfully connected and online
Now let’s create a new job and use our ARM agent to build opencv.
Building OpenCV
We know we’re going to be using git to check out the OpenCV source tree from Github, and there are a number of other dependencies required for building, so we need to install all of them on our ARM system:
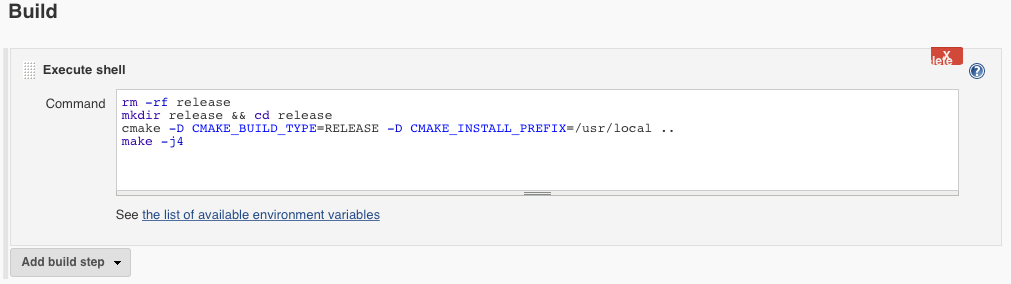
sudo apt-get install build-essential cmake git libgtk2.0-dev pkg-config libavcodec-dev libavformat-dev libswscale-dev python-dev python-numpy libtbb2 libtbb-dev libjpeg-dev libpng-dev libtiff-dev libjasper-dev libdc1394-22-dev
OpenCV is traditionally built with the following commands:
|
1 2 3 |
mkdir release && cd release cmake -D CMAKE_BUILD_TYPE=RELEASE -D CMAKE_INSTALL_PREFIX=/usr/local .. make |
These will be our basic build steps, with the exception we’ll use make -j4 to take advantage of our 4 core ARM build agent.
Creating the Build Project
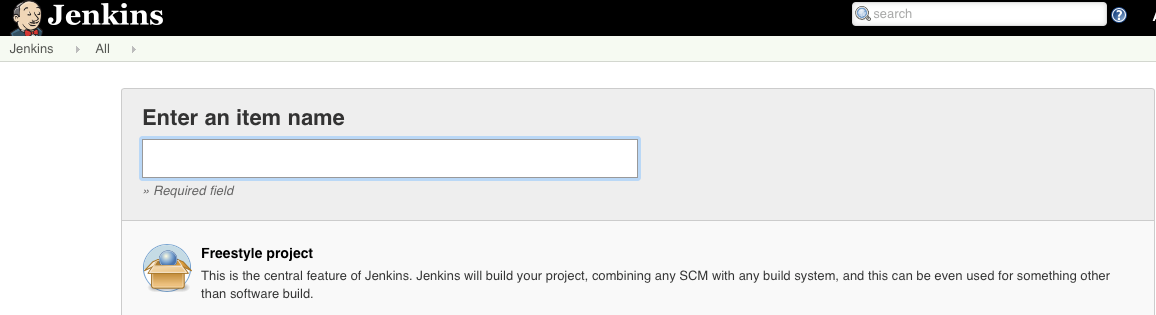
To create a new build project, click on Create New Item in the main Jenkins menu, and choose Freestyle project. We’ll name our project OpenCV 3.0. Click OK at the bottom of the options.
You’ll be on the General tab to get started. For now we’re interested in the general project options, Source Code Management section, and Build section.
Since we want to build the OpenCV project on the ARM system we are going to restrict the project to only build on those nodes matching our arm label.

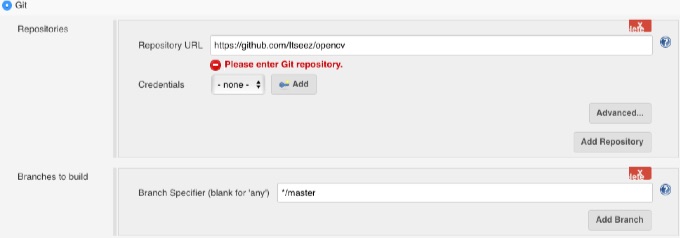
For OpenCV 3.0 we’ll choose Git as the SCM type, and then enter the URL to the OpenCV source, https://github.com/itseez/opencv/. Jenkins allows you to specify the branch to build on, and we’ll leave the default master.
For the actual build we will enter a single Execute shell build step. It should be noted that this is an example only. There are a number of ways to configure and script out Jenkins project; each project will have different build steps to fit the needs of the underlying task at hand.
Save your project, and then click Build Now! In the Build History pane you’ll see a flashing blue dot (hopefully). Click on the dot to go to the build page where you can select to look at the console output of the build. If everything was set up correctly you should now see OpenCV building away on your ARM build agent!
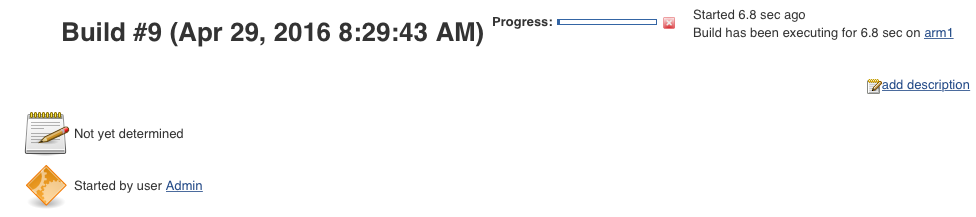
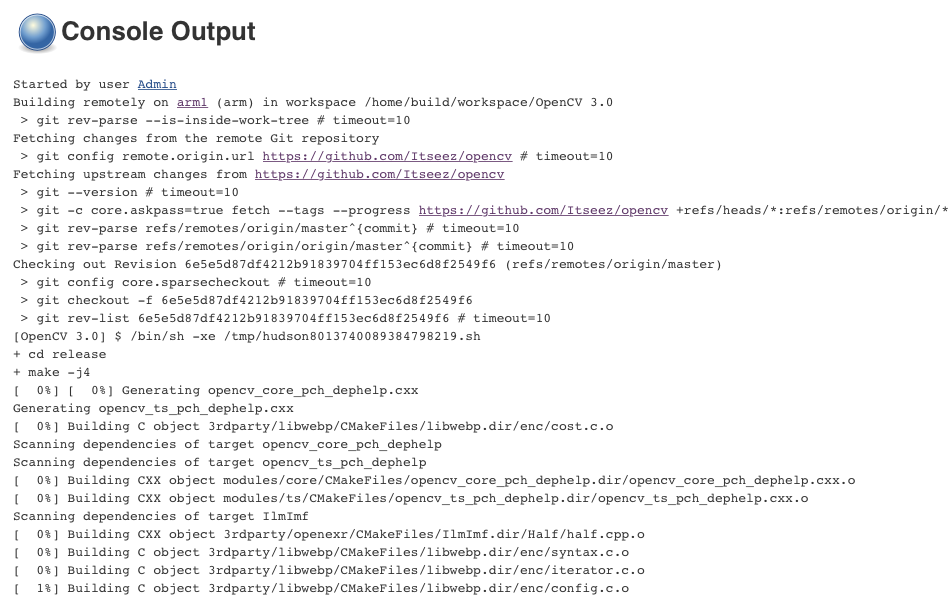
In our example OpenCV took 42 minutes to build on a quad-core ARM system from Scaleway. Not bad.
Final Thoughts
This was clearly not a comprehensive Jenkins tutorial. Folks familiar with the craft know that setting up and configuring continuous integration servers and build projects to produce traceable artificacts is a disclipline unto itself. However, it should be clear that creating a compile farm consisting of slave build agents does not have to be complicated.