Update! – If you are interested in learning more about Apple’s new Swift programming language, we have a version of using FlatButton with Swift over here. Enjoy!
Well, it’s certainly been a while since our last post. We’ve been busy working on a variety of projects, but things have slowed down a bit as the 2013 holiday season approaches so here we are with a simple tutorial on creating attractive “flat” buttons on iOS. For the impatient that want the code, everything below is in an XCode project hosted on Github.
While many of our tutorials assume you’ve done no iOS programming in the past, this one will assume you are familiar with how to create a new iOS application, add 3rd-party frameworks and code, etc. We’ll be using Jason Everett’s FlatButton class, which you can download from Github. You only need to include FlatButton.m and FlatButton.h in your project, but make sure and link to the QuartzCore framework.
After creating your project and including FlatButton.h and .m (and link to QuartzCore!), add the following to your ViewController.m file:
[objc]
#import "FlatButton.h"
[/objc]
and
[objc]
-(void)viewWillAppear:(BOOL)animated {
[super viewWillAppear:animated];
UIButton* flatButton = [[FlatButton alloc] initWithFrame:CGRectMake(20,350,280,40)
withBackgroundColor:[UIColor colorWithRed:0.521569
green:0.768627
blue:0.254902 alpha:1]];
flatButton.layer.cornerRadius = 10;
[flatButton setTitle:@"Sign In" forState:UIControlStateNormal];
flatButton.titleLabel.font = [UIFont fontWithName:@"Avenir-Black" size:20.0f];
[flatButton addTarget:self action:@selector(flatButtonPressed:) forControlEvents:UIControlEventTouchUpInside];
[self.view addSubview:flatButton];
}
-(void)flatButtonPressed:(id)button {
NSLog(@"flatButtonPressed");
}
[/objc]
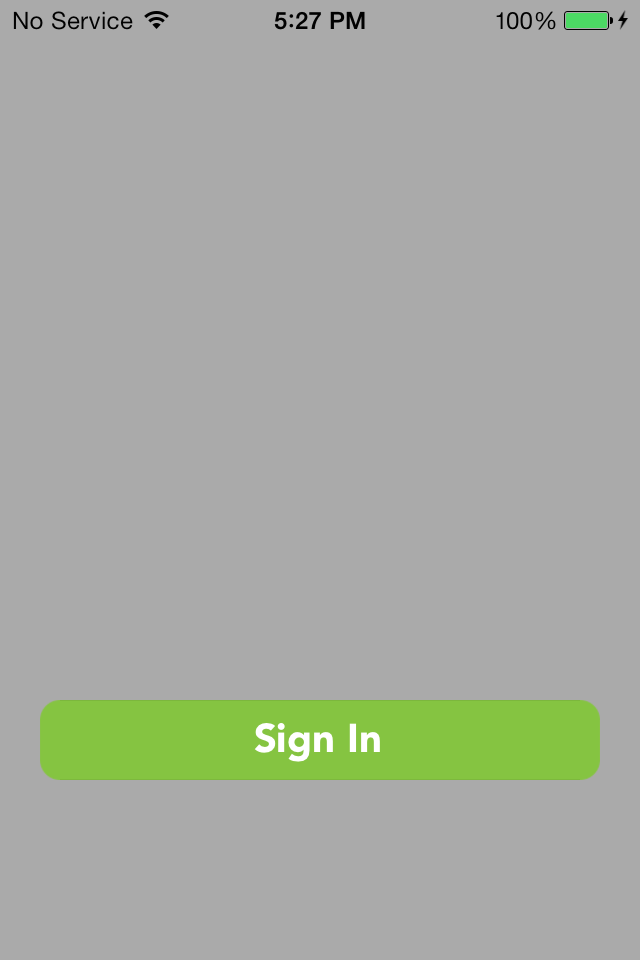
A brief discussion on what’s going on here. First, rather than drag-n-drop of your button from XCode onto the view controller canvas, you’re programmatically creating the button. FlatButton inherits from UIButton so you can assign directly to a UIButton*. When creating UI elements programmatically you have to explicitly set things that XCode did for you when using NIBs or storyboards. For example, above we declare the where and what of the button layout with CGRectMake, as well as the details of the background color of the button.
To add additional appeal we use the cornerRadius attribute of the UIButton‘s layer object. Setting this to 10 as shown above will give the button’s corners a nice rounded effect.
Finally, we set the font name and size of the button label, add the method that we want called when the button is pressed (UIControlEventTouchUpInside), and then add the button to our view controller’s view!
That’s really all there is to it. The “hard part” is programming the button placement on an iPhone 4 vs. an iPhone 5 (perhaps another blog post or we’ll extend this one). Everything else is handled nicely by the FlatButton class. For more details on FlatButton see Jason Everett’s blog.
Don’t forget you can follow us on Twitter, where you’ll get the latest updates on our iOS tutorials.

Nice post Joe!
I wrote up a tiny tutorial on using UIButton’s in code with background images.
http://iphonedev.tv/blog/2014/1/22/programmatic-uibutton-on-ios-70-create-a-uibutton-with-code
I’m working on an updated button post, and I wanted to let you know that I liked your post using the corner radius with a flat button style.
Thanks Paul, now we just need to get your post written up with Swift 🙂