Ubuntu 18.04 Bionic Beaver was released several months ago now, and is currently (as of this writing) not available as a Quick Start AMI on AWS. But that’s okay, it is easy to create your own AMI based on 18.04. We’ll show you how!
Some assumptions, though. We’re going to assume you know your way around the AWS EC2 console, and have launched an instance or two in your time. If you haven’t, AWS itself has a Getting Started guide just for you.
Starting with 16.04
First, create an Ubuntu Server 16.04 EC2 instance in AWS with ami-0552e3455b9bc8d50, which is found under the Quick Start menu. A t2.micro instance is fine as we’re only going to be using it to build an 18.04 AMI.

Once the instance is available, ssh to it.
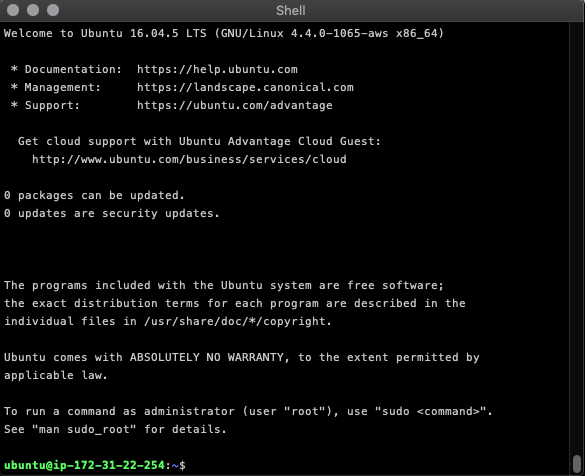
Notice that the OS is Ubuntu 16.04.5. We’re now going to upgrade it to 18.04.1 with do-release-upgrade. First, run sudo apt-get update, followed by sudo do-release-upgrade.
The upgrade script will detect that you are connected via an SSH session, and warn that performing an upgrade in such a manner is “risky.” We’ll take the risk and type y at the prompt.
[code lang=text]
This session appears to be running under ssh. It is not recommended
to perform a upgrade over ssh currently because in case of failure it
is harder to recover.
If you continue, an additional ssh daemon will be started at port
'1022'.
Do you want to continue?
Continue [yN]
[/code]
You’ll get another warning about firewalls and iptables. Continue here as well!
[code lang=text]
To continue please press [ENTER]
[/code]
Terrific, another warning! We’re about to do some seriously downloading, and hopefully it won’t take 6 hours.
[code lang=text]
You have to download a total of 173 M. This download will take about
21 minutes with a 1Mbit DSL connection and about 6 hours with a 56k
modem.
Fetching and installing the upgrade can take several hours. Once the
download has finished, the process cannot be canceled.
Continue [yN] Details [d]
[/code]
Of course, press y to continue, and confirm that we also want to remove obselete packages.
[code lang=text]
Remove obsolete packages?
28 packages are going to be removed.
Continue [yN] Details [d]
[/code]
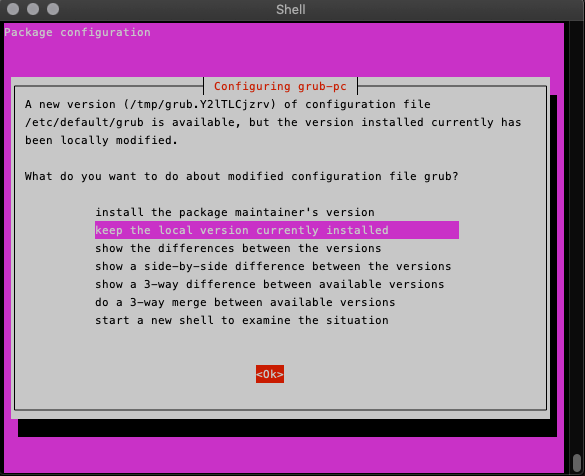
At this point the installation and upgrade of packages should actually begin. There is a good chance that you’ll be interrupted with a couple screens requesting what version of GRUB and ssh configuration files you want to use. I typically keep the currently installed version of a configuration file, as it is likely I’ve made edits (through Ansible of course) to a given file. Rather than do diffs or merges at this point, I’ll wait until the upgrade is complete to review the files.
Once the upgrade is completed you’ll be prompted to reboot.
[code lang=text]
System upgrade is complete.
Restart required
To finish the upgrade, a restart is required.
If you select 'y' the system will be restarted.
Continue [yN]
[/code]
After the reboot is completed, login (via ssh) and you should be greeted with
[code lang=text]
Welcome to Ubuntu 18.04.1 LTS (GNU/Linux 4.15.0-1020-aws x86_64)
[/code]
Terrific! We have a pristine Ubuntu 18.04.1 LTS instance on Linux 4.15. We’re going to use this instance to make a template (AMI) from which to create more.
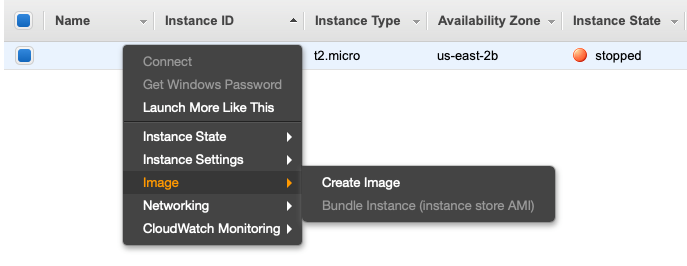
To start this process, stop the instance in the EC2 console. Once the instance is stopped, right-click on it and under the Image menu, select Create Image.
AWS will pop up a dialog indicating Create Image request received. with a link for viewing the pending image. Click on this link, and at this point you can name the AMI, as well as refer to it by its AMI ID.

Wait until the Status of the AMI is available before continuing!
Creating An 18.04.1 LTS Instance
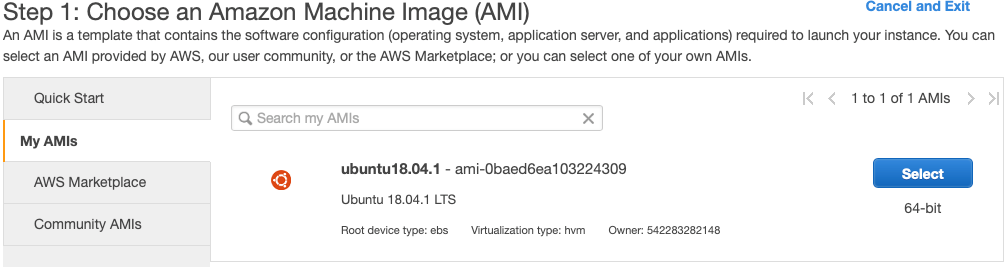
Go back to the EC2 console and delete (terminate) the t2.micro instance we created, as it is no longer needed. Then, click Launch Instance and select My AMIs. You should see your new Ubuntu 18.04.1 LTS AMI. Select it and configure your instance (type, storage, security groups, etc.) and launch it!
Once your instance is available, ssh to it and see that you’ve just created an Ubuntu 18.04.1 Bionic Beaver server in AWS, and you have an AMI available to build as many as you like!