
I’ve worked with the Raspberry Pi and BeagleBone over the past few years, but until a few days ago had never really looked at Arduino. Recently I had the occasion to listen to a few IoT evangelists sing its praises so decided to give it a whirl.
Like many software developers there are three things that I simply cannot do without: a badass keyboard, an IDE that supports Emacs keybindings, and strong coffee. Much to my dismay my first introduction to Arduino was an overly simplistic “IDE” (if it can be called that) and an editor that didn’t recognize CTRL-a, CTRL-e, etc. This simply would not do.
Fortunately for me some enterprising folks out there developed Xcode project templates for working with Arduino boards! In this article I’ll walk you through using these templates for writing the Arduino “Hello World” application using an Arduino Uno.
There are a few things you’ll need first:
- Xcode
- Arduino for the Mac
- an Arduino Uno and USB cable for supplying a serial connection and power
- a couple of resistors, LEDs, and a breadboard
If you’ve never worked with Arduino before this tutorial may not be for you, but there are great resources out there for getting started with Arduino and OS X.
Since I am using Yosemite (OS X 10.10) and Java 8, I chose to use the Java 7 version of Arduino for Mac. It bears repeating that to work with the EmbedXcode templates you have to install Arduino for Mac first.
Now, let’s go get EmbedXcode, a wonderful package for developing Arduino applications with Xcode. The Xcode 6 download link can be found here. Click on the embedXcode for Xcode 6 on Mac OS X 10.9 and 10.10 button:
A .pkg (installer package) file will be downloaded to your Downloads folder. Open the Downloads folder and find the package file and then right-click on it and select Open from the pop-up menu. When prompted by OS X whether or not you want to open a file from an unidentified developer, click Open.
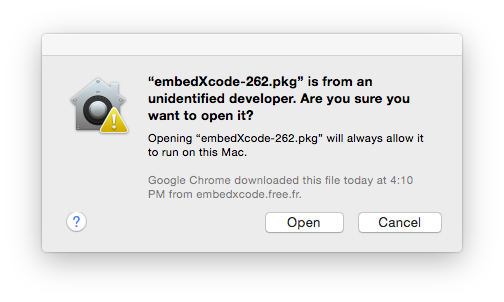
Did you know that “identified developers” are simply those that have paid for a recognized code signing certificate? Code signing certificates typically cost more than a run-of-the-mill SSL certificate because an agency purportedly does a “thorough background check” on the entity requesting a certificate. If you ask me its little more than a money-making racket with code signing issuers getting the last laugh.
The package installer will walk you through several screens, starting with this one:
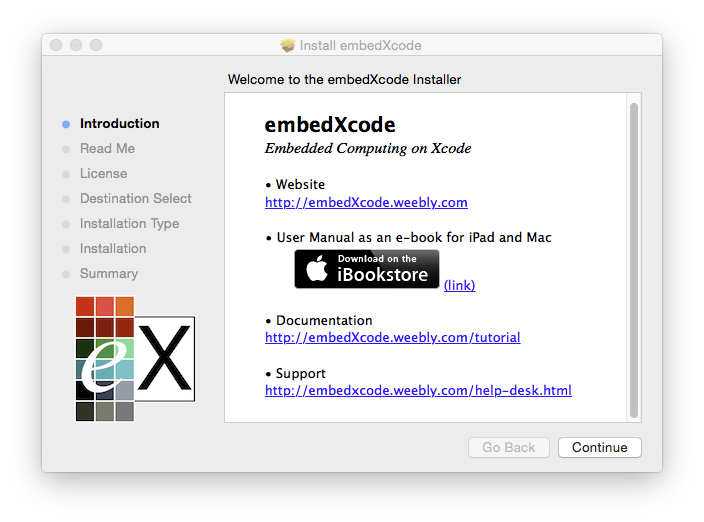
Click Continue through the prompts, Agree to the software license (unless you disagree) and accept the default settings and then click Install.

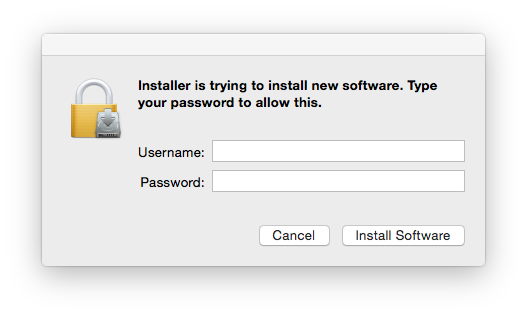
OS X Finder will prompt you that the installer is trying to install new software and that you need to type your OS X password. Enter your password and click Install Software.
You will get prompted for where to save Spark and mbed projects. I created a directory in ~/projects named arduino and selected that folder. Once the installer has completed, click Close.
Now open Xcode and use File – New – Project to create a new Xcode project. When prompted to choose a template for your new project choose embedXcode under OS X and select an embedXcode Sketch.
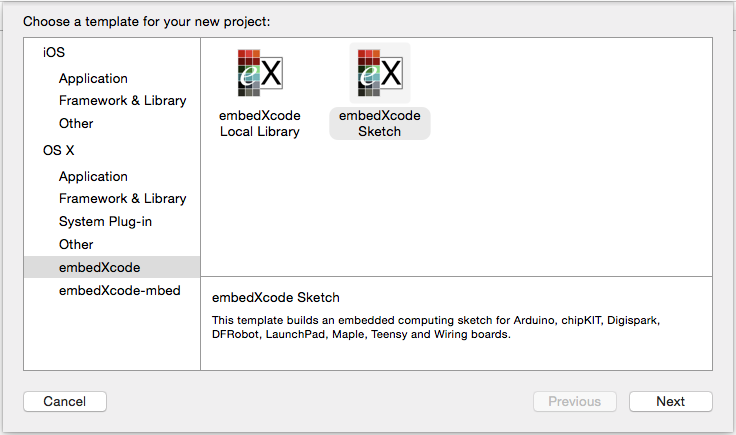
Click Next and choose the options for your project. We’re going to name our project blinky and target the Arduino Uno board.

Finally, choose a location for your project to be saved and click Create.
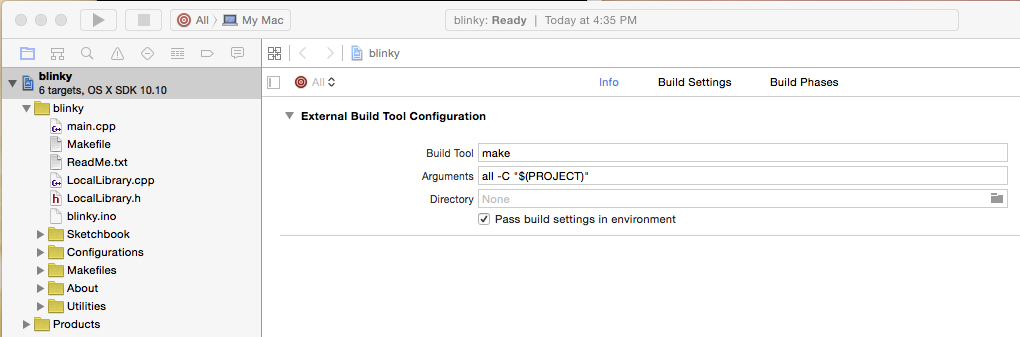
The project generated from the Xcode template looks a little overwhelming at first, but you can ignore much of it. Click on the disclosure triangles for Sketchbook, Configurations, Makefiles, About, and Utilities to clean things up a bit.
Now, let’s get to the fun part: creating a quick sketch to blink a couple of LEDs. We’re going to use Pin 12 and Pin 11 from the Arduino, along with a couple of 560 Ohm resistors and two LEDs, one yellow and one green (it’s what I had on hand).
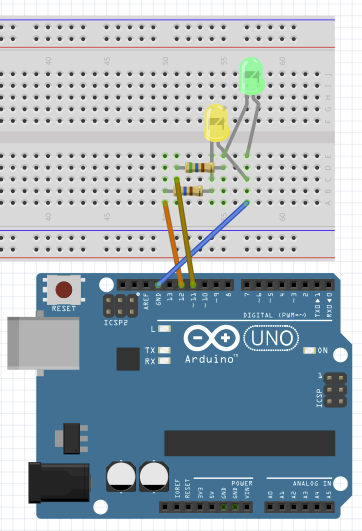
This isn’t a tutorial on physical wiring (for one, I’m sloppy with it) but the idea is simple: each LED has a series resistor, and their ground pins are routed back to Arduino’s ground.
With the board wired up, go to your Xcode blinky project and find the sketch file blinky.ino. Note that there is a lot of boiler plate code and comments in there, most of which can be deleted. If you’re familiar with using the Arduino IDE much of this is stripped out, and we can do the same thing with our sketch file. Here’s the final code for our blinky.ino sketch:
|
1 2 3 4 5 6 7 8 9 10 11 12 13 14 15 16 17 18 19 20 21 22 23 24 25 26 |
// // blinky // uint8_t yellowLed; uint8_t greenLed; void setup() { yellowLed = 12; greenLed = 11; pinMode(yellowLed, OUTPUT); pinMode(greenLed, OUTPUT); } void loop() { digitalWrite(yellowLed, HIGH); digitalWrite(greenLed, LOW); delay(250); digitalWrite(yellowLed, LOW); digitalWrite(greenLed, HIGH); delay(250); } |
It’s clear in the code that we define Pin 12 for controlling our yellow LED, and Pin 11 for our Green LED. The loop routine does the work, first by turning on the yellow LED and turning off the green LED. We then wait 250 milliseconds and reverse it by turning off the yellow LED and turning on the green LED. After another 250 millisecond delay the process is repeated giving us our blinking effect. Not rocket science.
Set the project target to All and hit the Xcode run button.
![]()
When you click Run here Xcode is building the project using the Makefile that was generated as a part of the template. If you aren’t familiar with make don’t worry, but the general idea is that to run your sketch Xcode executes a specific set of commands to build the application, load it onto the Arduino, etc. The details of these commands are specified in the Makefiles included in your project.
If everything is configured properly your code should compile, get downloaded to your board, and begin running!
[youtube]https://www.youtube.com/watch?v=csJhTNVnrn4[/youtube]
Get the Code
You can find the code for this entire project on Bitbucket. If you have Arduino and Xcode installed on your Mac, you can download the repository, open the Xcode project, and hit Run.
|
1 |
git clone git@bitbucket.org:joeiachievedit/blinky |
If you really want to get clever, compile and run your Arduino application from the command line! cd into the blinky folder and issue the command:
|
1 |
BOARD_TAG=uno xcodebuild |
Note: All of this assumes you are using the Uno board like me. If not, simply replace everything with the appropriate board name.
Next Up
I’ve been interested in using an Adafruit BTLE board with Arduino. Stay tuned for Part 2!

Hi Joe,
Thanks for the tutorial. I have followed the steps and am having an error in the Step1.mk file. On line 279 that says:
$(error $(BOARD_TAG) board is unknown)
I get the error:
/Users/Robert/Documents/Xcode/blinky/blinky/Makefiles/Step1.mk:279: *** uno board is unknown. Stop.
Do you know how I can resolve this? And why the uno is unknown.